Manage the NGINX Cache - Clear, Enable & Disable Caching.
Print
We have recently enabled Nginx reverse proxy caching for all of our cPanel customers.
During our in-house testing, Nginx caching has proven to be both effective and reliable at increasing the speed and availability of customer sites without any negatives to uptime.
Caching works by saving a full copy of a page and then serving that directly to the end-user, circumventing the need for the server to generate and display site content each time a user visits. During normal website operation this is great as it improves user experience through increased speed and help support an increased number of site visitors.
However, under certain circumstances, you might want to disable caching or clear the current cache. Specifically during the development process when you wish to view changes to your site as they're made and not those currently stored in the cache.
To do this, use the following steps:
Firstly, log in to your main cPanel area.
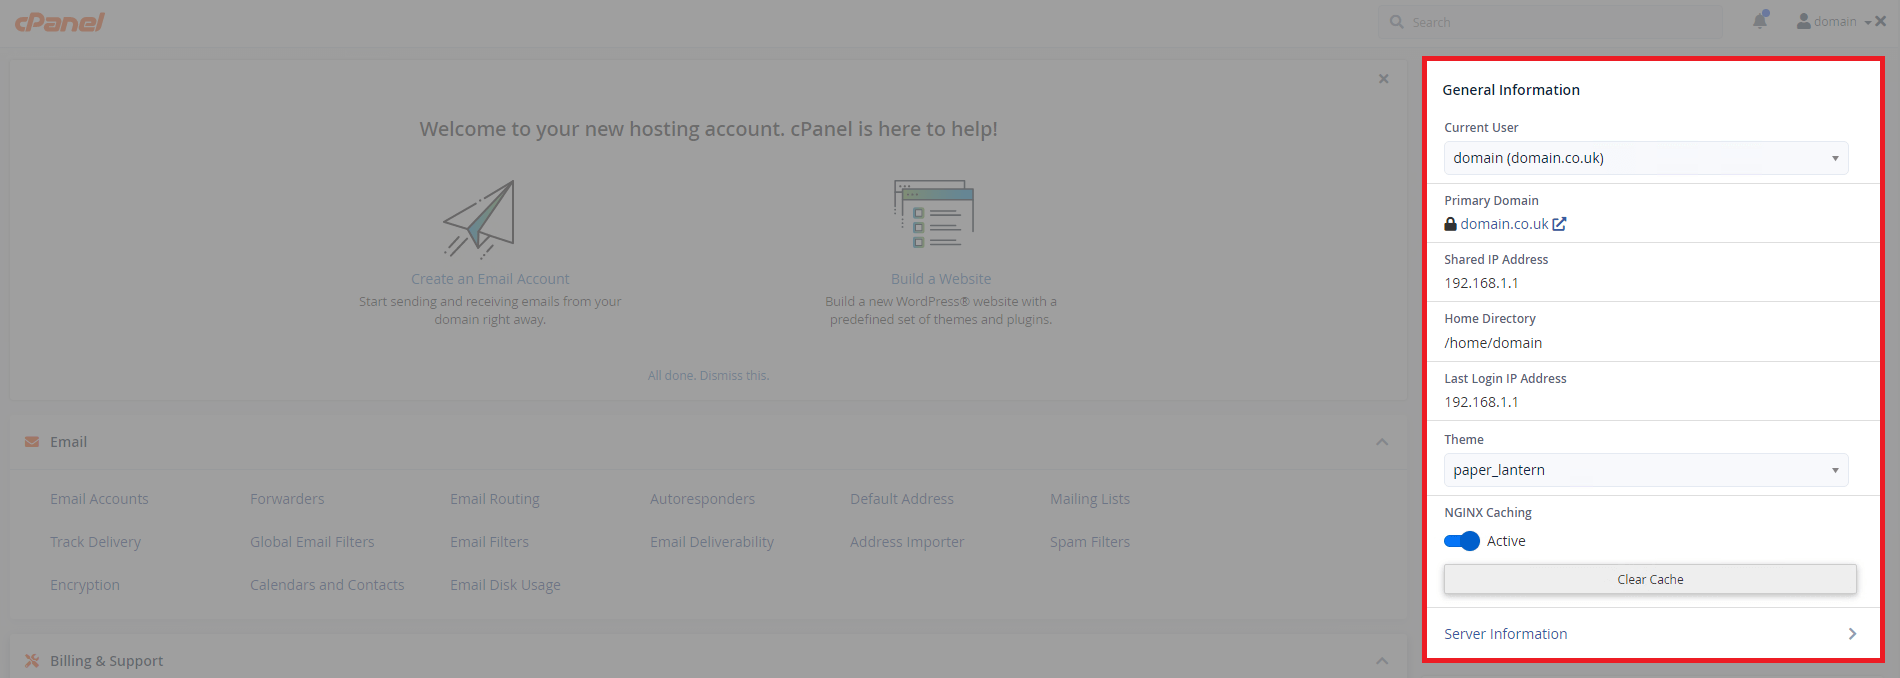
Enable Nginx Caching
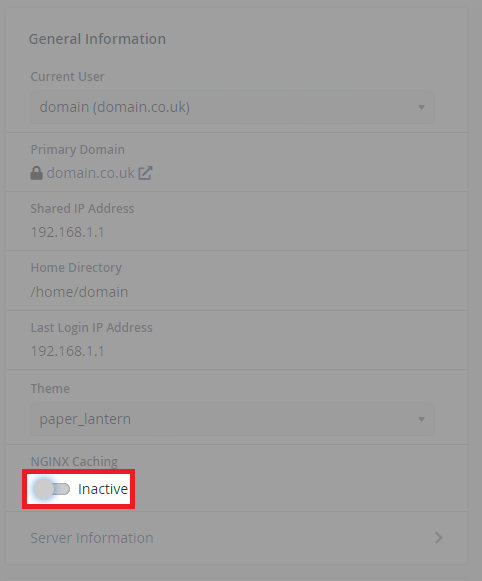
To enable caching, click the button under NGINX caching, a loading icon will appear indicating it is being enabled.
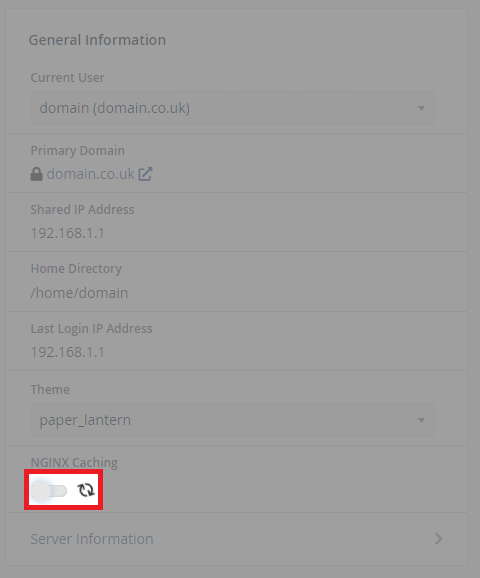
If it is successfully enabled, the button will change from white to blue and the message active will appear alongside the button.
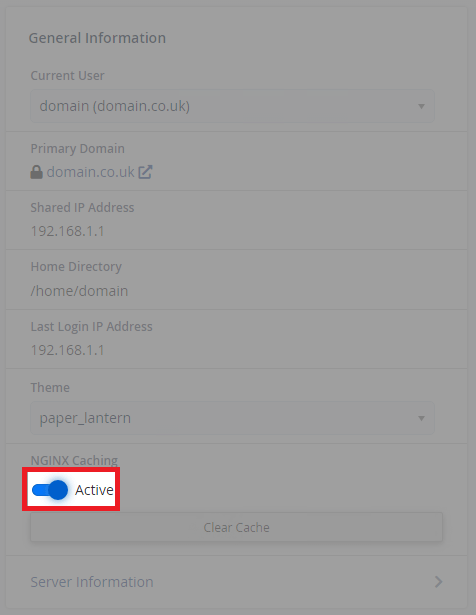
Disable Nginx Caching
To disable caching, similar to above, click the blue button and a loading icon will appear to show it working.
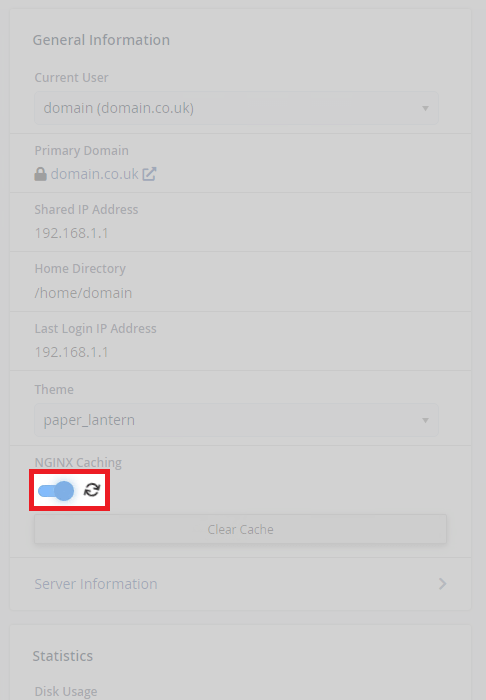
If it is successfully enabled, the button will change from blue to white and the message inactive is next to the button.
Clear Nginx Cache
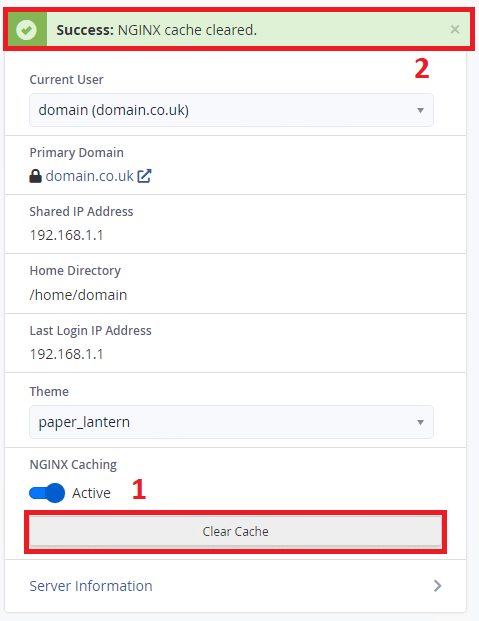
To clear the cache, click the clear cache button as shown below. Afterwards, a message will appear to show its successful.
Was this answer helpful?